How to Remove Peel-and-Stick Tile Without Wall Damage
Short answer: Warm each tile with a hair dryer until the adhesive softens, lift a corner with a fingernail or plastic putty knife, and peel slowly, keeping the tile close to the wall instead of pulling it straight out. Clean any residue with warm soapy water. A clean removal starts on install day: smooth, fully cured paint and one test tile in a hidden spot.
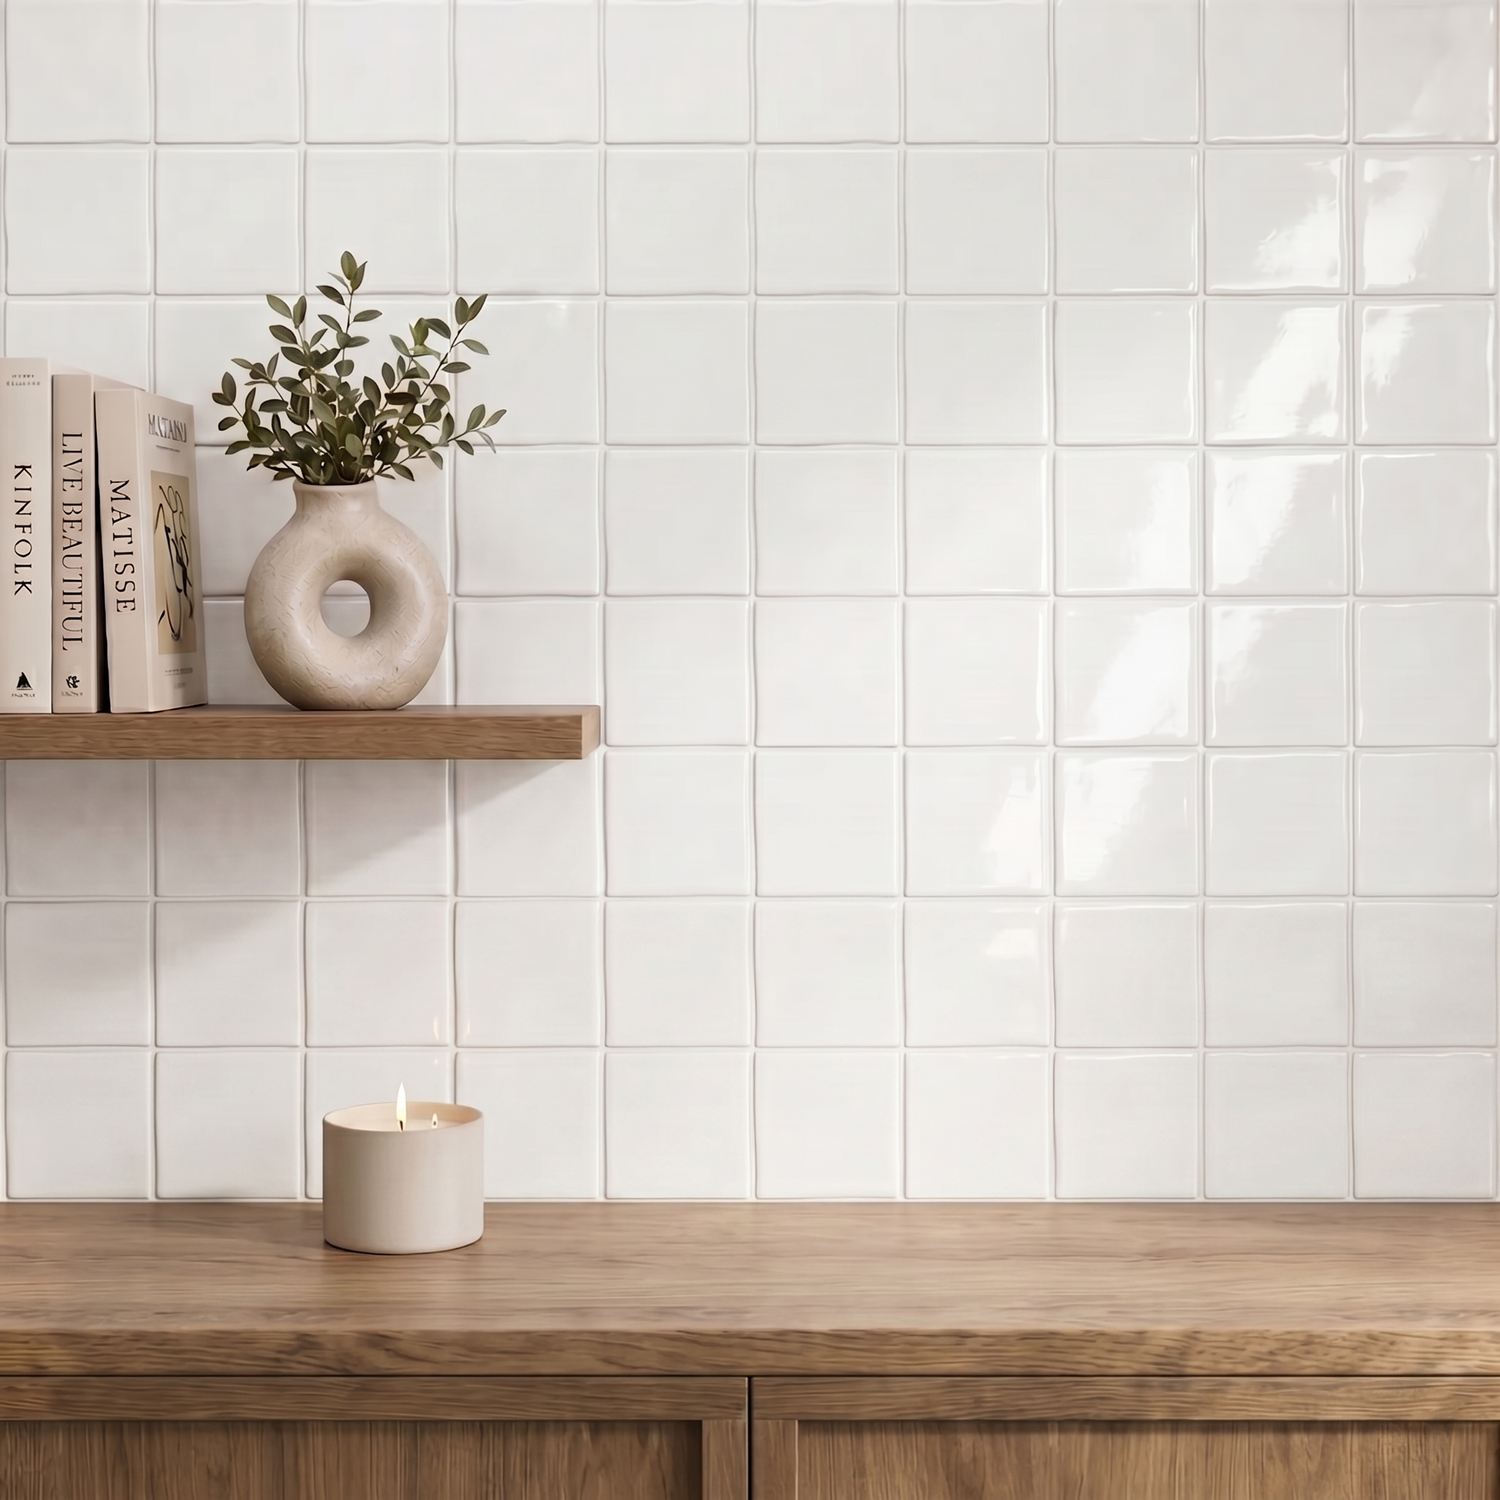
Before You Install: Set Up an Easy Move-Out
This guide assumes painted drywall. On other surfaces (RV wall panels, laminate, existing tile, wallpaper), ask the surface maker before using any adhesive product.
- Check your lease. Some leases restrict any adhesive on walls. Ask first, and get the answer in writing.
- Photograph the wall before you start, for your deposit records.
- Look at the paint. Smooth, well-bonded paint is the best surface. Flaking, chalky, or heavily textured walls are risky with any adhesive. Unprimed or unpainted drywall is the riskiest of all.
- Let fresh paint cure. Paint dries to the touch in about an hour but takes much longer to cure. Benjamin Moore lists a full cure of 14 days for one of its popular interior paints, and peel-and-stick tile makers commonly ask you to wait about three weeks (21 days) after painting. Tile applied to soft paint can take the paint with it later.
- Do a test tile. Stick one piece in a hidden spot (behind the fridge or a microwave), leave it a few days, and remove it with the steps below. If paint lifts, stop and rethink before you cover the whole wall.
Removal, Step by Step
- Warm it. Hold a hair dryer on medium heat a few inches from one tile and move it around until the tile feels warm and the edge starts to soften. Don't use a heat gun on drywall; it is easy to scorch paint.
- Start at a corner. Lift with a fingernail or a plastic putty knife. Don't use metal tools on drywall.
- Peel slowly, close to the wall. Fold the tile back over itself rather than pulling it straight out, and keep moving the heat ahead of the peel.
- Stop if paint starts to lift. Add more heat and slow down. Going slowly matters more than how hot the tile gets.
- Clean the residue. Warm soapy water first. If something stays, use a mild adhesive remover, tested on a hidden spot first so it doesn't dull or soften the paint.
- Touch up if needed. Small paint marks are easier to patch than you'd think. Keep a little of your wall color and a small brush.
What Can Still Go Wrong (and What to Do)
| What you see | Likely cause | What to do |
|---|---|---|
| Paint comes off with the tile | Weak, fresh, or poorly bonded paint | Stop, re-warm, peel slower. Patch and touch up. A test tile shows this before you cover the wall |
| Sticky residue left behind | Adhesive pulled cold or too fast | Re-warm the area and roll the residue off with your thumb, then clean with warm soapy water |
| Drywall paper tears | Unprimed or unpainted drywall, or pulling too fast | Warm gently and peel very slowly. Seal torn paper with primer before you patch |
| Tile breaks into small pieces | Tile too cold or pulled at a steep angle | Warm a larger area and keep the peel close to the wall |
No adhesive product is zero-risk. "Removable" means a product is designed to come off cleanly from a sound, smooth, cured surface, not that it will on every wall.
Can You Reuse the Tiles?
Generally, no. Once the adhesive has been pulled off a wall it loses much of its grip and picks up dust. Plan on new tiles for the next place, and keep a few spares from your original order for repairs while you live there.
A Note on 3D PVC Wall Panels
3D PVC wall panels installed with construction adhesive, including ours, are a permanent installation. They're a great fit when you own the space. In a rental, get your landlord's written approval or choose a peel-and-stick product instead. Our guide to choosing between wall panels and peel-and-stick tile walks through that decision.
Our Peel-and-Stick Backsplash
Our peel-and-stick backsplash tile goes up without mortar or grout and cuts with scissors. It's designed to come off with heat and a slow peel from smooth, sound, fully cured paint. Test one tile in a hidden spot first. It's made for kitchen backsplashes, accent walls, laundry rooms, and home offices, not for shower or tub interiors, floors, or outdoors, and not for the zone directly behind or beside a stove's burners (see peel-and-stick behind a stove). See current colors.
FAQ
Does peel-and-stick tile ruin walls?
On smooth, sound, cured paint it is designed to come off cleanly with heat and a slow peel. Weak, fresh, textured, or unprimed surfaces are where damage usually happens. Test one tile first.
What is the best way to remove peel-and-stick backsplash?
Warm each tile with a hair dryer, start at a corner, and peel slowly with the tile folded back close to the wall, moving the heat ahead of the peel.
How long should I wait after painting before installing peel-and-stick tile?
About three weeks. Paint is dry to the touch within hours but takes about two weeks or longer to fully cure, and tile makers commonly ask for 21 days.
How do I get adhesive residue off the wall?
Warm soapy water first, then a mild adhesive remover tested on a hidden spot.
Can I reuse peel-and-stick tiles after removing them?
Generally not. The adhesive loses much of its grip once it has been pulled off.
Sources
- Benjamin Moore, paint dry and cure times FAQ (Regal Select Interior: full cure 14 days).